

OK this seems like an easy question but there are so many ways I can answer this that it will be hard just to answer one way. So I may wander around for this answer so please bear with me, and enjoy my ramblings.
First off you can sponge with the same type of sponge and the same ink but come up with different looks.
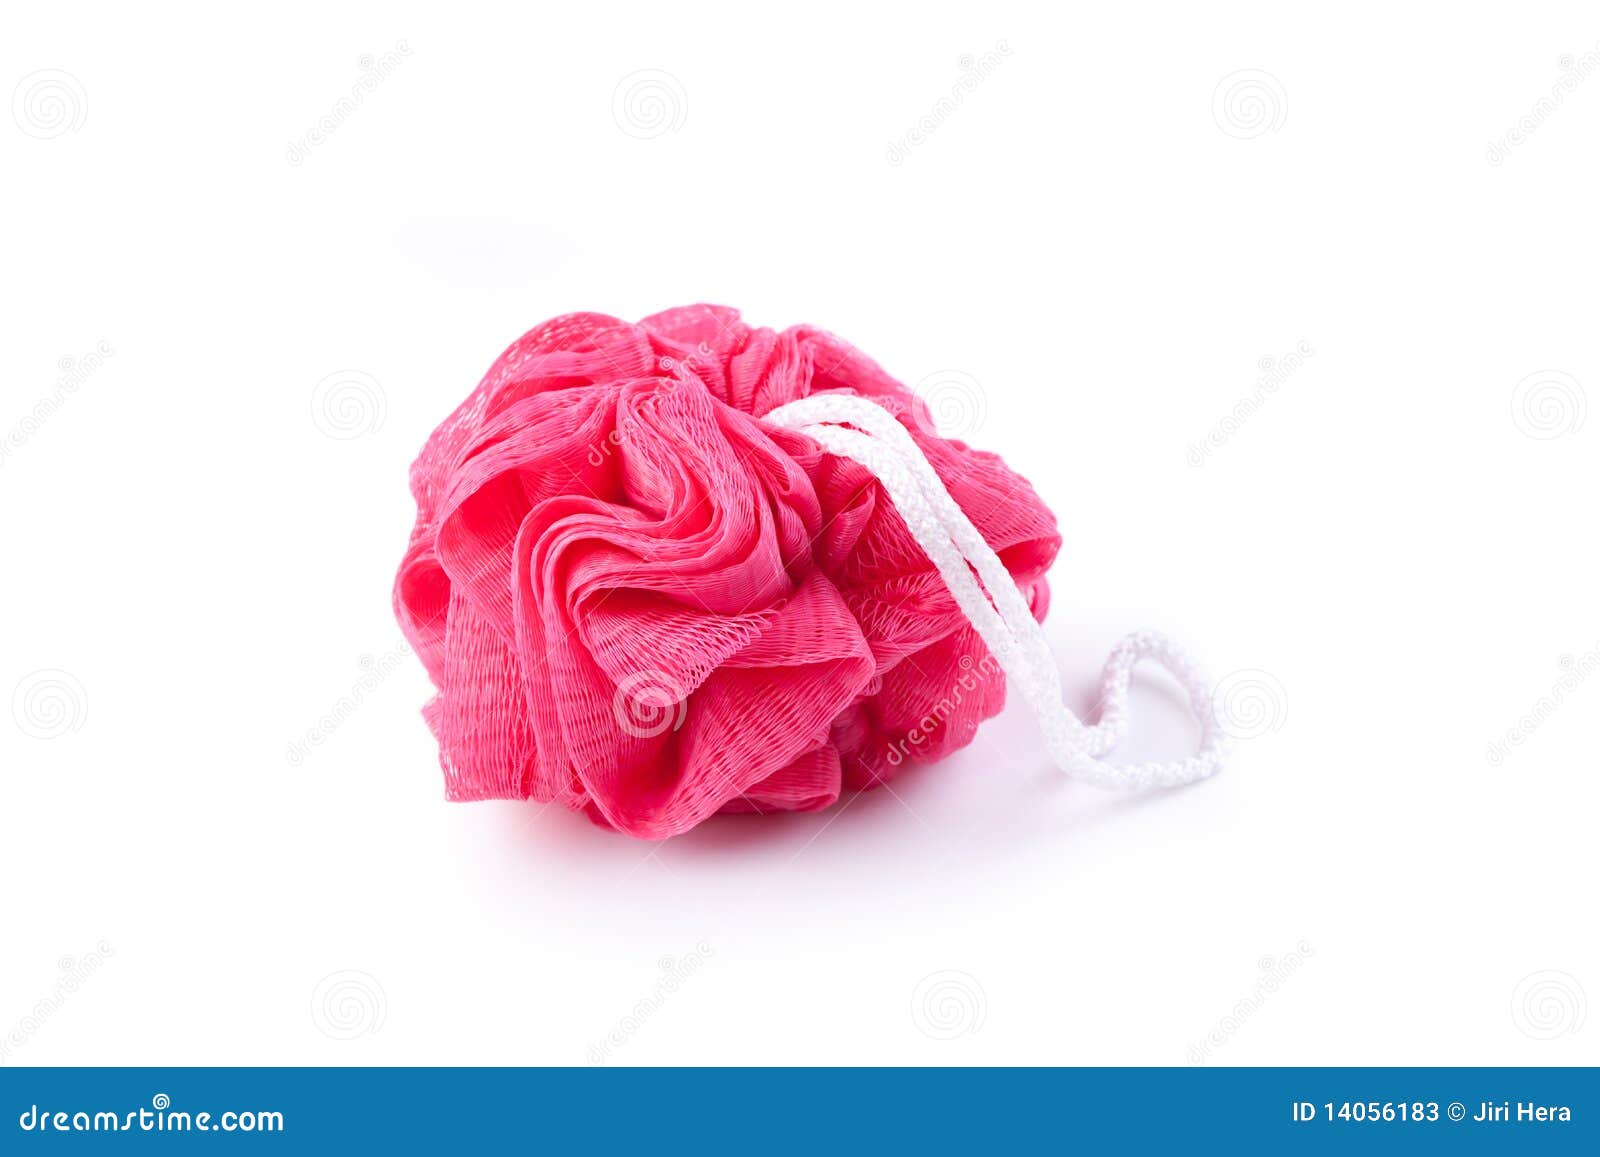
So what do you sponge with? Funny question? Actually you can sponge with more than a sponge.
Of Course there is a 1) Sponge.

Stampin' Up sells sponges 3 to a package (101610, $3.50). I usually cut them into 6 or 8 pieces. So you can get 18 to 24 pieces so two packs and you can have a sponge for each ink Stampin' Up! ink color. I label my sponges so that I don't contaminate them with other colors.

Even though you can use some to mix colors, when I want to do that I just cut a sponge and then throw it away after I am done. Sponges leave a light sparser filling in, though you can use it to get a full thick fill it takes a little more work. You can use different types of sponges also. I have used Natural sponges, cleaning sponges, and other sponges.
2) Sponge Daubers

These are denser sponges and have a richer fuller application. They are like make-up sponges. Stampin' Up! sells Sponge daubers 12 to a package (102892, $10.95). I like them instead of make-up sponges because you can put them on your fingers. I put a small mailing label on them with the ink color and keep them in a zip lock bag (see above photo). I like using them for emboss resistance and to color the Silver Glimmer Paper.
3) Plastic Bath Sponges
These make an interesting sponging look. I use them if I want to have a full sponged background. I usually get them from the Dollar spot in Target or the Dollar Tree Store. With this one you can wash out and use with different inks if cleaned off.
4) Rags or dish clothes. I don't use these much anymore, my husband doesn't like me to ruin his dish clothes. It is almost like raging paint on walls and never gives the same look twice.
Now for the next thing about sponging is how do you apply the ink to the cardstock.
1. You can daub it on. With a sponge this gives you a light non uniform look. The blue on the following card was done with a sponge and daubing.

With a Sponge Dauber it sometimes appears as dots. It is fun to make a background with and is great to use to make a sun or a moon. In the card below it was used to color the brown ground and you can see it was use for some of the trees, where some of the trees a regular sponge was used.


3) Edging, this is just putting some ink with a sponge or dauber on the edge of the card stock. Just put the ink on the dauber or sponge and pull it off the cardstock. You can do a small area or a large area. It can be a light touch or a heavy touch making it a filled in frame. You can see both ways in the following two photos.


4) Filling in and coloring glimmer paper.
You can use a sponge or dauber to fill in cut outs. Such as punch outs, die cuts or use as a reversal and sponge over a punched image to make a reverse image. I did the below on using the new Expression die cut reverse cut. I used the cut out for a card and then sponged the left over and had a reverse image.

Also using Sponges or Daubers you can make the Silver Glitter paper any color. I like using daubers as it is faster and fills in heavier with more color. You can see it below, same silver glitter paper ends up two different colors.

Not everything about sponging but I hope it gives you enough to wet your appetite to try it. It is a fun technique and gives you some great results.
If you have a stamping question or would like me to do a review on a stamping item or technique please leave a comment or e-mail me at marysstamping at gmail.com
Don't
forget the Mystery Hostess for this month.
Just
use the Hostess Code YQF6MDMY and you will be entered into the drawing.
Mystery
Host code YQF6MDMY is good till September 17 and the winner will be
announce September 1. The winner will choose Stampin'Up! products of their
choice. To be entered in the drawing you need to enter the code. The
big question where do you enter the code when you are on the page of your
shopping bag on the left bottom side you will see at the bottom where it say
"Special Offer" the box that say "Do you have a hostess
code" Look like this
Do you have a hostess code? Enter it here and click Apply:
that is where you will enter YQF6MDMY in that box let me know if you have any question and good luck to everyone that will participate.
Do you have a hostess code? Enter it here and click Apply:
that is where you will enter YQF6MDMY in that box let me know if you have any question and good luck to everyone that will participate.
Thanks for visiting
Happy Stamping
Mary
Great tutorial today. How do you get your glimmer paper to look so nice. I mean the colors look really good. When I try it and get the color dark like yours, the paper seems to separate. Is there a secret to this? I mean I want the color dark and bright, not soft where you have to turn the paper to really see the color.
ReplyDeleteCynthia, I just use a stamp pad and Sponge dauber. I noticed if i used re-inker and got the dauber really wet it would start to pull away. So I just use the stamp pad. I daub it on and try to just daub not circle. I find if I circle the dauber gets filled with glitter which I don't like. It get enough glitter whne I just daub it.
Delete